

Start a new family tradition and tap your maple trees to make your own syrup.
Our family’s favourite way to celebrate the arrival of Spring is to tap our maple trees and make our own delicious syrup. The tradition began when the boys were still quite young but mature enough to help collect the sap, using the most basic of equipment and boiling over an open fire. We had more than a few humbling mishaps back then including sap that spoiled because it was left in the buckets too long, devastating sap spills and worst of all, syrup that burned. Making your own syrup is definitely a skill you learn through trial and error. At times it can feel extremely frustrating and far too work-intensive, especially after putting in hours and hours of time to end up with a few small bottles of syrup.

Over the years though we’ve learned and perfected the production and now have it fairly stream lined. As we became more serious about it we purchased a bigger evaporator and Roger built a “Sugar Shack” so we have a roof over our heads for the boiling process. He keeps careful notes each year, writing down the date the sap started to run, the dates we “boiled” and how much syrup we bottled. We even have our own “Stephan Maple Syrup” label for the bottles, and enter our syrup every year in the Fall Fair.

It’s amazing to look back at the notes and photos we’ve collected over the years. There is a lot of “down time” when you’ve finished collecting the sap and are at the boiling stage. Perhaps this is the best part of the entire endeavour - family and friends visiting, outdoor BBQ, talking, laughing, playing games, reading a good book or just sitting around the fire. The act of making maple syrup has brought together our family and friends and created memories we will cherish the rest of our lives. The most rewarding part though is cracking open the season’s first bottle of maple syrup and pouring it over Sunday morning pancakes. Nothing beats a sweet family moment like that!
If you would like to start this amazing family tradition here are some useful tips:
Equipment Required to Tap:
• Taps (aka spiles)
• Buckets
• Lids for the buckets
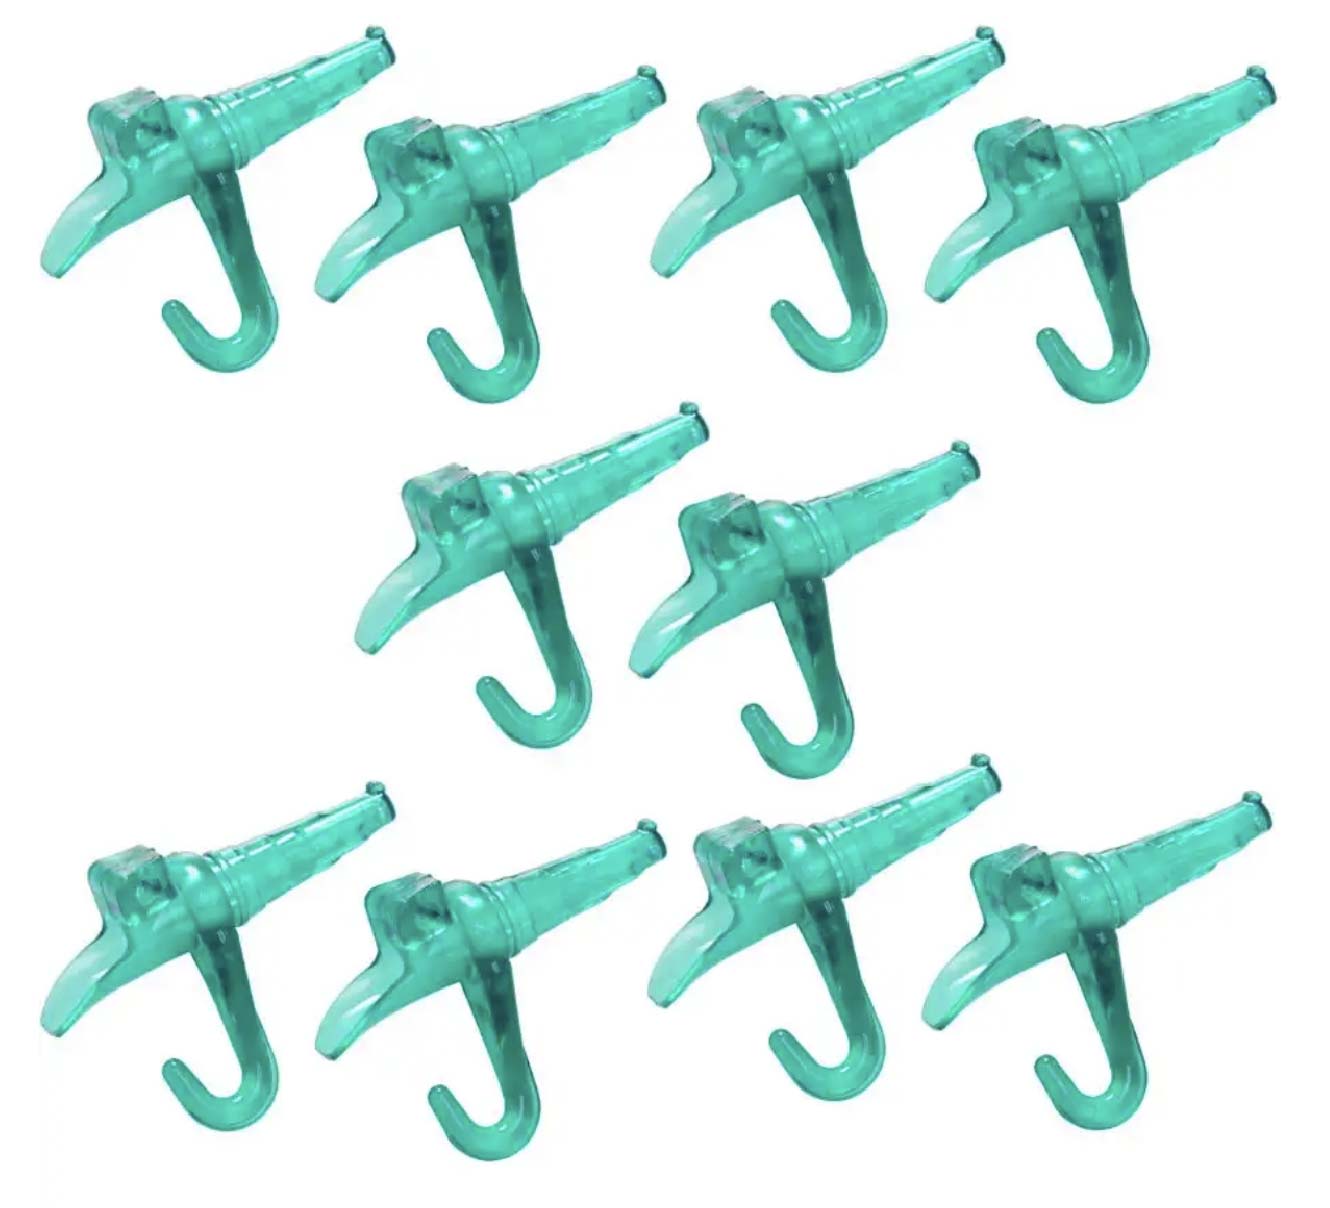
• Hooks
• Drill and drill bit (proper size for spiles you’re using)
• Hammer


(This kit is a great way if you’re just getting started!)


Equipment Required for Collecting, Boiling and Bottling:
• Food-safe storage buckets with lids
• Wide, shallow pan (a lot of people starting out just use a large pot)
• Outdoor propane burner or wood fire (do not boil inside on stove)
• Cheesecloth or filters and pre-filters designed for sap
• Instant-read thermometer
• Bottles for the syrup (mason jars are a popular choice!)

TIP: Be sure to disinfect your taps, buckets and storage buckets prior to tapping by washing them in a solution of water, soap and a bit of bleach. You do not want your sap to get contaminated!
When to Start Tapping:
In general, sap starts to run between mid-February to mid-March. The earliest we’ve tapped was the third week of February and the latest was mid-March. You want to tap when the temperatures are above freezing during the day (and ideally sunny) but below freezing at night. Once temperatures remain above freezing and the buds start to appear on branches the maple syrup season is finished. There’s an old saying, “When there are moths in your pails it’s over”.

Best Practices for Tapping your Maple Trees:
•Don’t tap a maple tree that is too young and less than 10 inches in diameter because you risk killing it.
•You can put two taps into a tree that’s between 20 and 25 inches in diameter
•Put the tap anywhere from 2 to 4 feet off the ground.
•Ideally you want to tap on the south side of the tree
•When drilling, hold the drill and drill bit at a slight angle pointing up, and drill about two inches deep
•When you pull out the drill clean the debris and using a hammer lightly tap the spile into the hole

Tips for Collecting Sap:
How fast the sap runs will depend on how warm and sunny it is outside. It’s a good idea to check your pails daily and to pour any sap into a storage container. Some people like to boil as they go, but we usually collect for a number of days before we do. One of the biggest mistakes made by the novice tapper is not storing the sap properly once collected. It’s vital to use food grade storage containers when collecting the sap and to keep it cool and out of the sun to prevent it from going milky. We keep our storage containers in the shade and bank snow around the container to keep it cool. If not stored properly the sap can go milky and if that happens you will likely have to throw it out.

TIP: It’s a good idea to filter your pails of sap when dumping them into the storage container. You can even just use a bed sheet as the filter to get rid of the larger debris.
Did you Know? To produce one gallon of syrup from a sugar maple tree you will need 40 gallons of sap!
Tips for Boiling:
If you’re using fire always burn it hot and keep lots of wood nearby. If you’re planning on using propane to boil be prepared for an expensive batch of syrup and have many cans on hand. If you have to add cold sap to a hot boil it will extend your time for boiling, so if you want to avoid this it’s helps to pre-heat the sap you’ll be adding to your boil. Always keep a rolling boil because it will shorten the boiling time. On the occasions we didn’t, we were boiling into the wee hours of the night using twice the amount of wood.
You’ll want to remove the sap from the boil between 218 and 220 degrees Fahrenheit - syrup boils at a higher temperature than water. To avoid the heartache of burning it be sure to have a good quality instant read thermometer.
If you’re tired and don’t feel like straining and bottling once it reaches this temperature, you can leave it overnight, but if you do you need to reheat it to between 210 and 215 degrees Fahrenheit before you filter and bottle in order to avoid mould but be careful not to re-boil it to 218 degrees because it will turn to candy.

TIP: If you’re filtering the syrup while it’s hot it’s a good idea to dip your filter in hot water first so it loosens the fibres. The best filter to use is the number 8 filter that you can find at our store or maple syrup supply stores. After filtering your syrup you’ll need to wash your filter by hand but don’t use the washing machine and don’t ring it out to dry because it ruins the fibres.
We hope you find these tips helpful! This is what we’ve found works for us. But remember that there is not one tried and true method to make syrup. Everyone ends up with their own best practices. What does work though, is creating a meaningful family tradition that will create memories that last a lifetime.
Sincerely,
Roger and Rose